
01
Kitchen Backsplashes
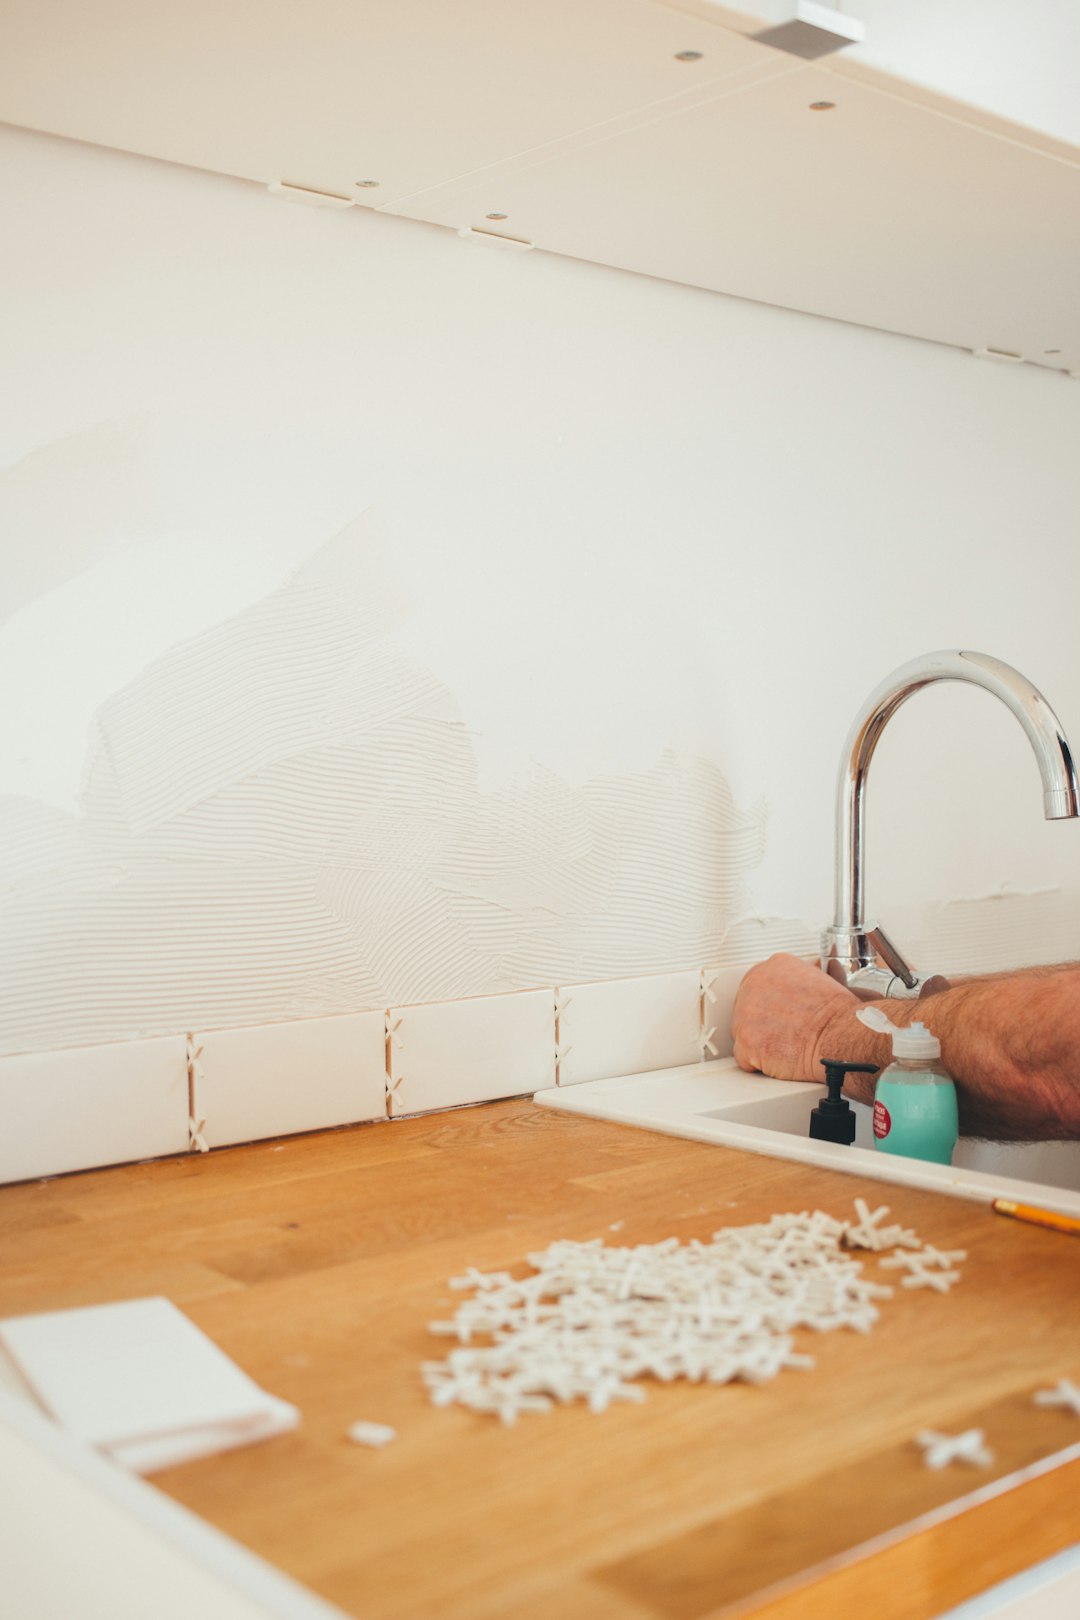
Subway, mosaic, herringbone, and patterned tile cut clean around outlets, windows, and corners. Grout lines stay even from end to end.
Tile is unforgiving — small mistakes show forever. Our installs start with proper substrate prep, laser-level layout, and quality thinset, so your floors, showers, and backsplashes look sharp and stay sealed for the long haul.
Cement board, waterproofing, and a flat plane before any tile gets set.
Lines snapped and pattern centered so cuts land where they should.
Proper cure time before grout, then sealant on stone and porous grout.
Subway, mosaic, herringbone, and patterned tile cut clean around outlets, windows, and corners. Grout lines stay even from end to end.
Full waterproofing under every shower — proper slope to the drain, sealed corners, and tile set without lippage.
Large-format porcelain, ceramic, and natural stone laid on prepped substrate. Level, flat, and cut tight to walls and trim.
Cracked tiles swapped, hollow spots reset, and tired grout lines raked out and renewed. Sealed so it stays looking new.
No mystery — you'll know what's happening at every stage of the install.
We size up the space, recommend layouts, and confirm tile counts so you order the right amount with the right overage.
Substrate is leveled, waterproofed where required, and laid out for clean cuts around obstacles.
Tile set with the correct thinset, cured, then grouted and sealed for a finish that lasts.
Tell us about your kitchen, bath, or floor project. We'll measure, quote, and schedule the install.